
目录
Certainly, every homeowner faces minor problems such as a leaky tap, wobbly hinges, and clogged drainage. Calling a specialist for each problem will take a lot of time and cost. Acquiring some home repair skills will allow identifying the problem, gather appropriate tools, and fix it without assistance. No previous construction knowledge is required for home repair tips. Using just a few basic tools, proper preparation, and knowing where to draw the line, most regular home repairs are possible to perform.
1. What Basic Tools Are Needed for Home Repair?
Tools Required for Routine Repairs
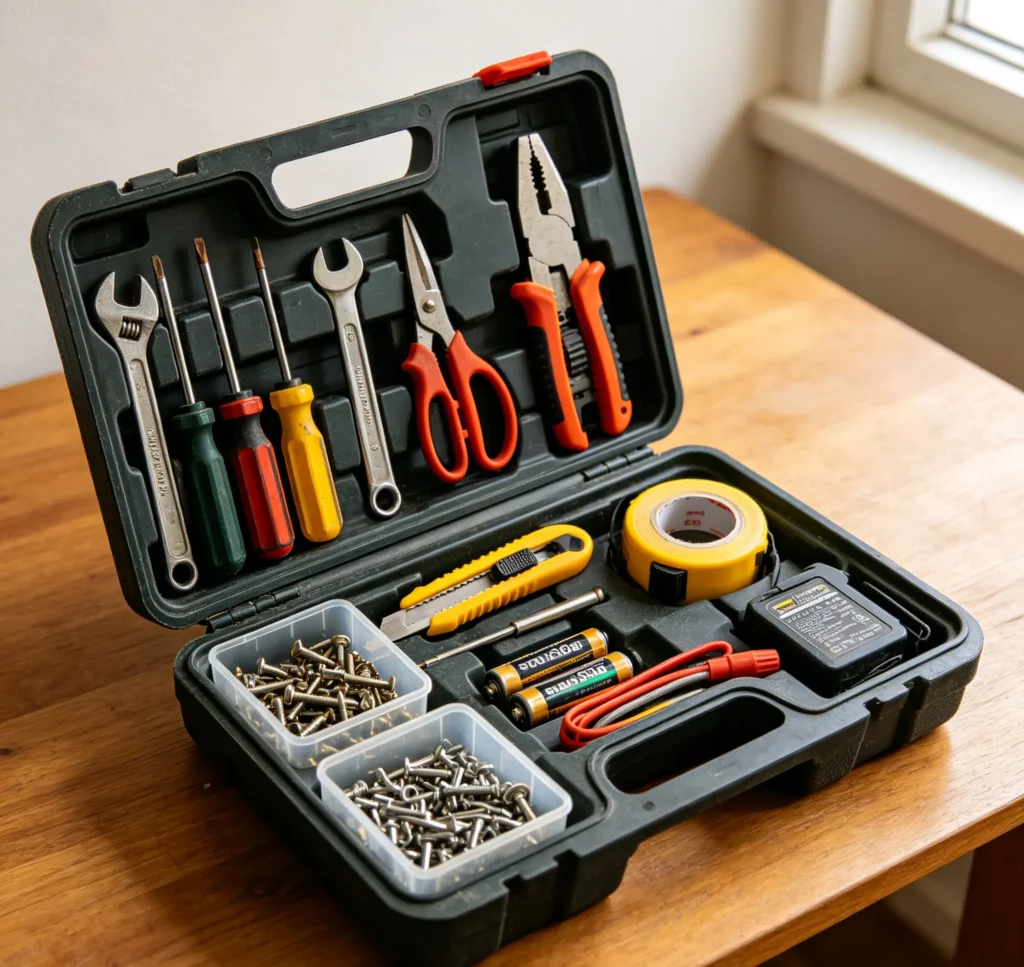
The effective set of tools for home repairs should not include hundreds of specialized tools. The compact set of equipment will manage most maintenance tasks.
| Tool | Common Use |
| Screwdriver set | Screws, handles, hinges, covers |
| Adjustable wrench | Plumbing fittings and nuts |
| Pliers | Gripping and turning small components |
| Hammer | Nails and light assembly work |
| Utility knife | Cutting sealant, packaging, and materials |
| Measuring tape | Checking dimensions |
| Level | Aligning shelves and fixtures |
| Drill | Making holes and driving screws |
A tape measure that ranges from 3–5 meters is necessary for home maintenance projects. As for drilling holes, homeowners have to select drill bits according to the material because wood, concrete, and metal are drilled with specific cutting edges.
How to Use Tools Safely
Tool choice is not enough to ensure safe home maintenance. Before undertaking any maintenance work, identify the root of the problem and the related system. Plumbing maintenance requires cutting off the water supply, while for electrical equipment, maintenance should disconnect it from power sources. Safety goggles will be needed while drilling, cutting, and removing hard materials. Additionally, one should examine tools for any defects like loose parts, damaged handles, and damaged drill bits. Incorrect use of tools with excessive pressure can harm both the tool and the fixture.
What Are the Most Useful Home Repair Skills?
1. Unclogging a Sink Drain
This problem is usually caused by hair, grease, bits of food, and buildup of soap around the drain hole. First, clear any debris that you see. Then apply pressure changes to the drain using a plunger. Finally, use a drain auger to unblock the obstruction from deep within the pipe. Never combine different chemicals for unclogging a pipe, as there could be an adverse reaction resulting in either heat generation or toxic fumes. An obstruction deep within the pipe causes frequent backups when cleaning.
2. Patching Small Holes in Walls
Small holes caused by nails, screws, or other wall attachments can usually be fixed using spackle or any wall patch. The hole should be cleaned and any loose material removed before applying the patch slightly past the damage. For a hole around 5–10 mm wide, one application may be sufficient, while more serious damage can require multiple thin layers. The repaired area can then be primed and painted to match the surrounding wall.
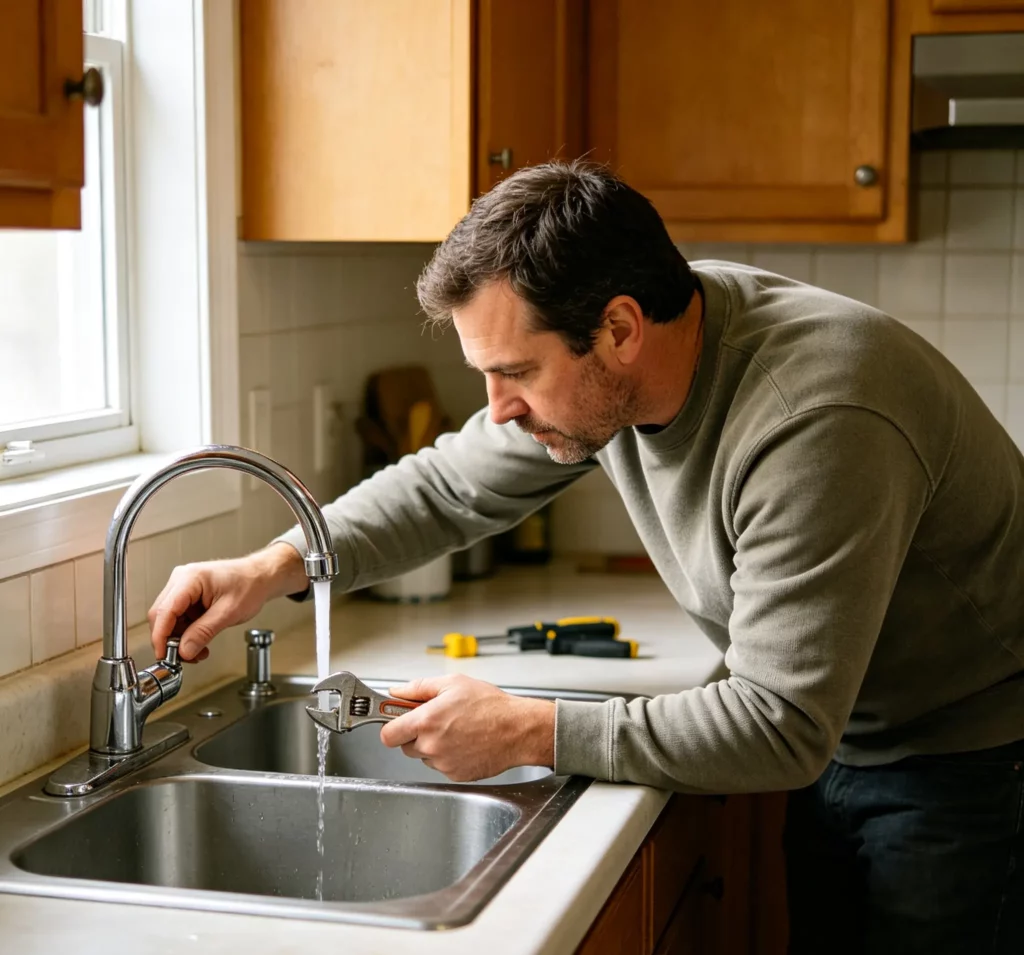
3. Fixing a Leaky Faucet
A leaky tap is usually caused by a damaged washer, O-ring, cartridge, or valve parts. Close the water supply and open it again after a while in order to release any pressure. Turn on the tap and remove the tap handle to identify the component that seals the tap. Replace the rubber seal if it is damaged.
4. Fixing a Running Toilet
A running toilet is one in which the water doesn’t stop flowing after you have flushed it. The issue might lie with the flapper, fill valve, float, or the water level adjustment. Start by removing the toilet’s tank lid and observing the working mechanism when the toilet is flushing. If the flapper doesn’t close correctly, then there will be continuous water flow into the bowl. Consider replacing a damaged flapper with an appropriate replacement. The water level in the tank should be at an appropriate level and not be adjusted too high.
5. Replacing a Damaged Door Handle
Broken or loose door handles are relatively easy to fix using hand tools. Remove the broken handle by unscrewing its mountings. Remember to use a replacement door handle that is similar to your door size and lock. Do not overtighten the screws during installation. Test the functionality of the latch after installation.
6. Replacing a Damaged Window Screen
If the screen mesh is torn and allows bugs and dirt to pass through while compromising natural ventilation, it is best to replace it. To begin with, the old screen frame will have to be removed first, and measurements of the length and width will be taken. Replacement mesh will have to be cut slightly bigger and put in place over the openings. After that, the retaining spline will be pressed into the groove with the help of a spline roller, and the mesh will be cut off with a utility knife. The mesh needs to be tight, without any tension.
7. Fixing Loose Cabinet Hardware
The hardware for cabinets,s such as handles, knobs, and hinges, es loosening due to frequent usage is very common and can be solved in a matter of minutes using a screwdriver. Handles will just have to be screwed in place, while the hinges will probably have to be aligned, not only tightened up. In the case when a screw keeps falling out due to an enlarged mounting hole, that hole will have to be reinforced.
8. Replacing a Damaged Tile
Replacing a cracked floor or wall tile involves careful dismantling without damaging other tiles. To break the damaged tile into pieces, use the right tools and remove it bit by bit. After removing the adhesive from the old one, apply the right amount of adhesive and install the new tile. Make sure that the new tile matches the height of the other tiles and keep the same joint size.
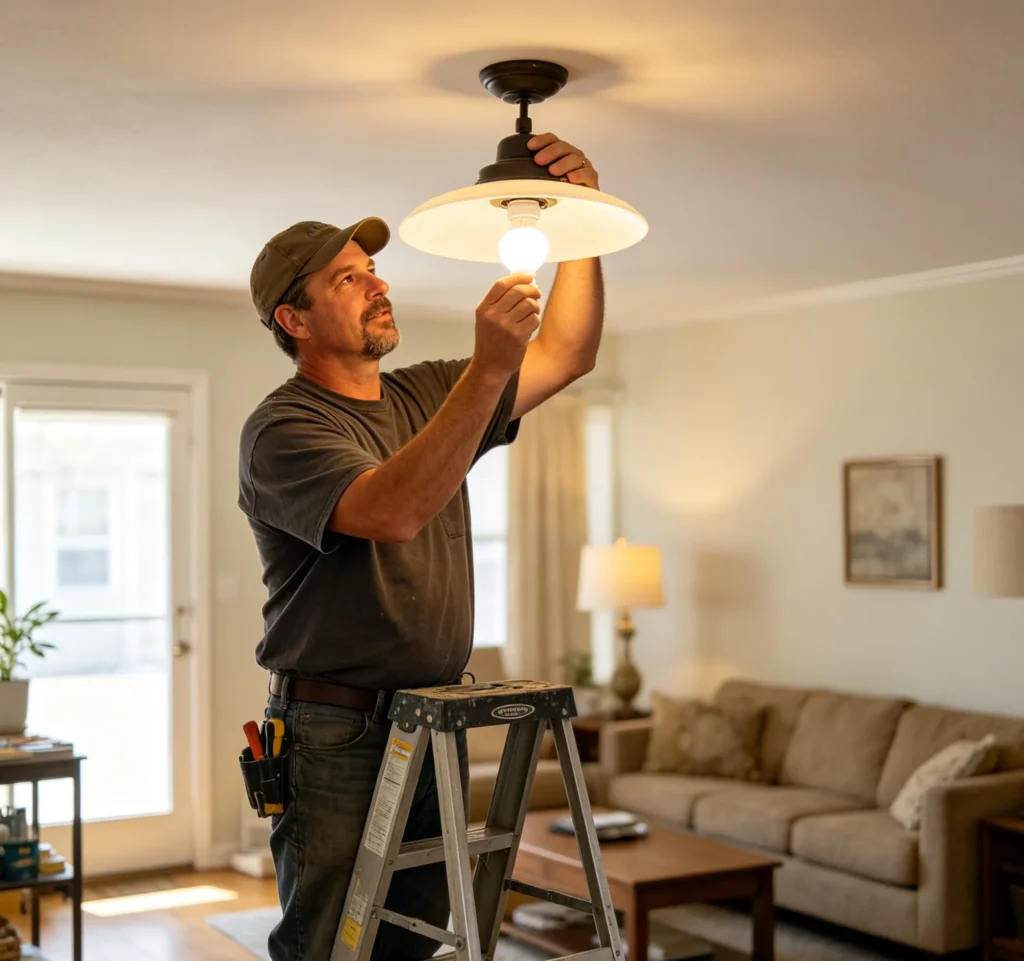
9. Replacing a Broken Light Switch or Outlet Cover
A cracked or broken switch or outlet cover will cause sharp edges to appear, which means the level of protection around the electrical fixture will be reduced. It is easy to replace such covers, but you should remember safety.
First, turn off the corresponding circuit at the electrical panel and make sure that there is no electricity with the help of voltage testers. Unscrew the old cover, put on the new plate, and screw it up without exerting excessive pressure on it. The cover should lie flat against the wall without any gaps. If the switch, outlet, wiring, or electrical box is damaged, you should involve an electrician in your work.
10. Replacing Air Filters
An air filter in an HVAC unit collects dust, hair, and other particles floating in the air. A clogged filter may cause restricted airflow, which, in turn, makes the system work harder. Turn off your HVAC unit before replacing a filter if the manufacturer requires that.
Then, open the filter housing, remove the old filter, and measure its size. Place the new filter into the housing in the direction indicated by the airflow arrow, toward the furnace or air handler. Make sure that the filter is installed tightly without gaps. Monthly inspection of the filter can help you to estimate when it needs replacing; the time for replacement being according to the manufacturer’s guidelines.
Conclusion
Learning these 10 home repair skills will help you to speed up your household maintenance, make it more structured, and be independent of other people’s help. Such actions as fixing a faucet, unclogging a drain, mending walls, changing hardware parts, and replacing air filters are quite doable if one knows the problem and uses the proper equipment.
The first and foremost thing you need to know is where the line between an easy fix and professional help lies. When it comes to serious structural damage, major electrical repairs, gas pipes, plumbing problems, or any other kind of work that involves danger, one needs professional help. In all other cases, with some good equipment and knowledge, you can solve many problems around your house yourself.
0