
目录
Mounting a wall TV can help save some floor space, make the room look more appealing, and create a cleaner arrangement for the viewing experience. But mounting is not just about mounting the bracket on the wall; there are a lot of factors one must take into account before drilling anything into the wall. The typical wall mount installation will involve four major steps, including choosing appropriate equipment, wall preparation and measurement, installing the mount, and checking the final result. Spending some extra time on each step will help you avoid mounting problems, broken cables, and wrong viewing angles.
1. What Do You Need to Install a Wall-Mounted TV?
Choose the Right TV Wall Mount
A wall mount has to suit your TV model according to its size, weight, and VESA mount pattern. VESA means the distance in millimeters between the mounting holes on the back of the TV: 200 × 200 mm or 400 × 400 mm.
There are various brackets made for different purposes. A fixed mount positions the screen close to the wall; a tilting mount allows moving the screen vertically. A full-motion mount allows additional horizontal and vertical movements of the screen. Before purchasing a mount, check:
- Maximum supported TV weight
- Compatible screen size
- VESA mounting pattern
- Required wall type
- Mounting hardware included with the bracket
Never select a bracket based only on screen size. The mount’s load capacity should exceed the actual TV weight.
Prepare the Necessary Tools
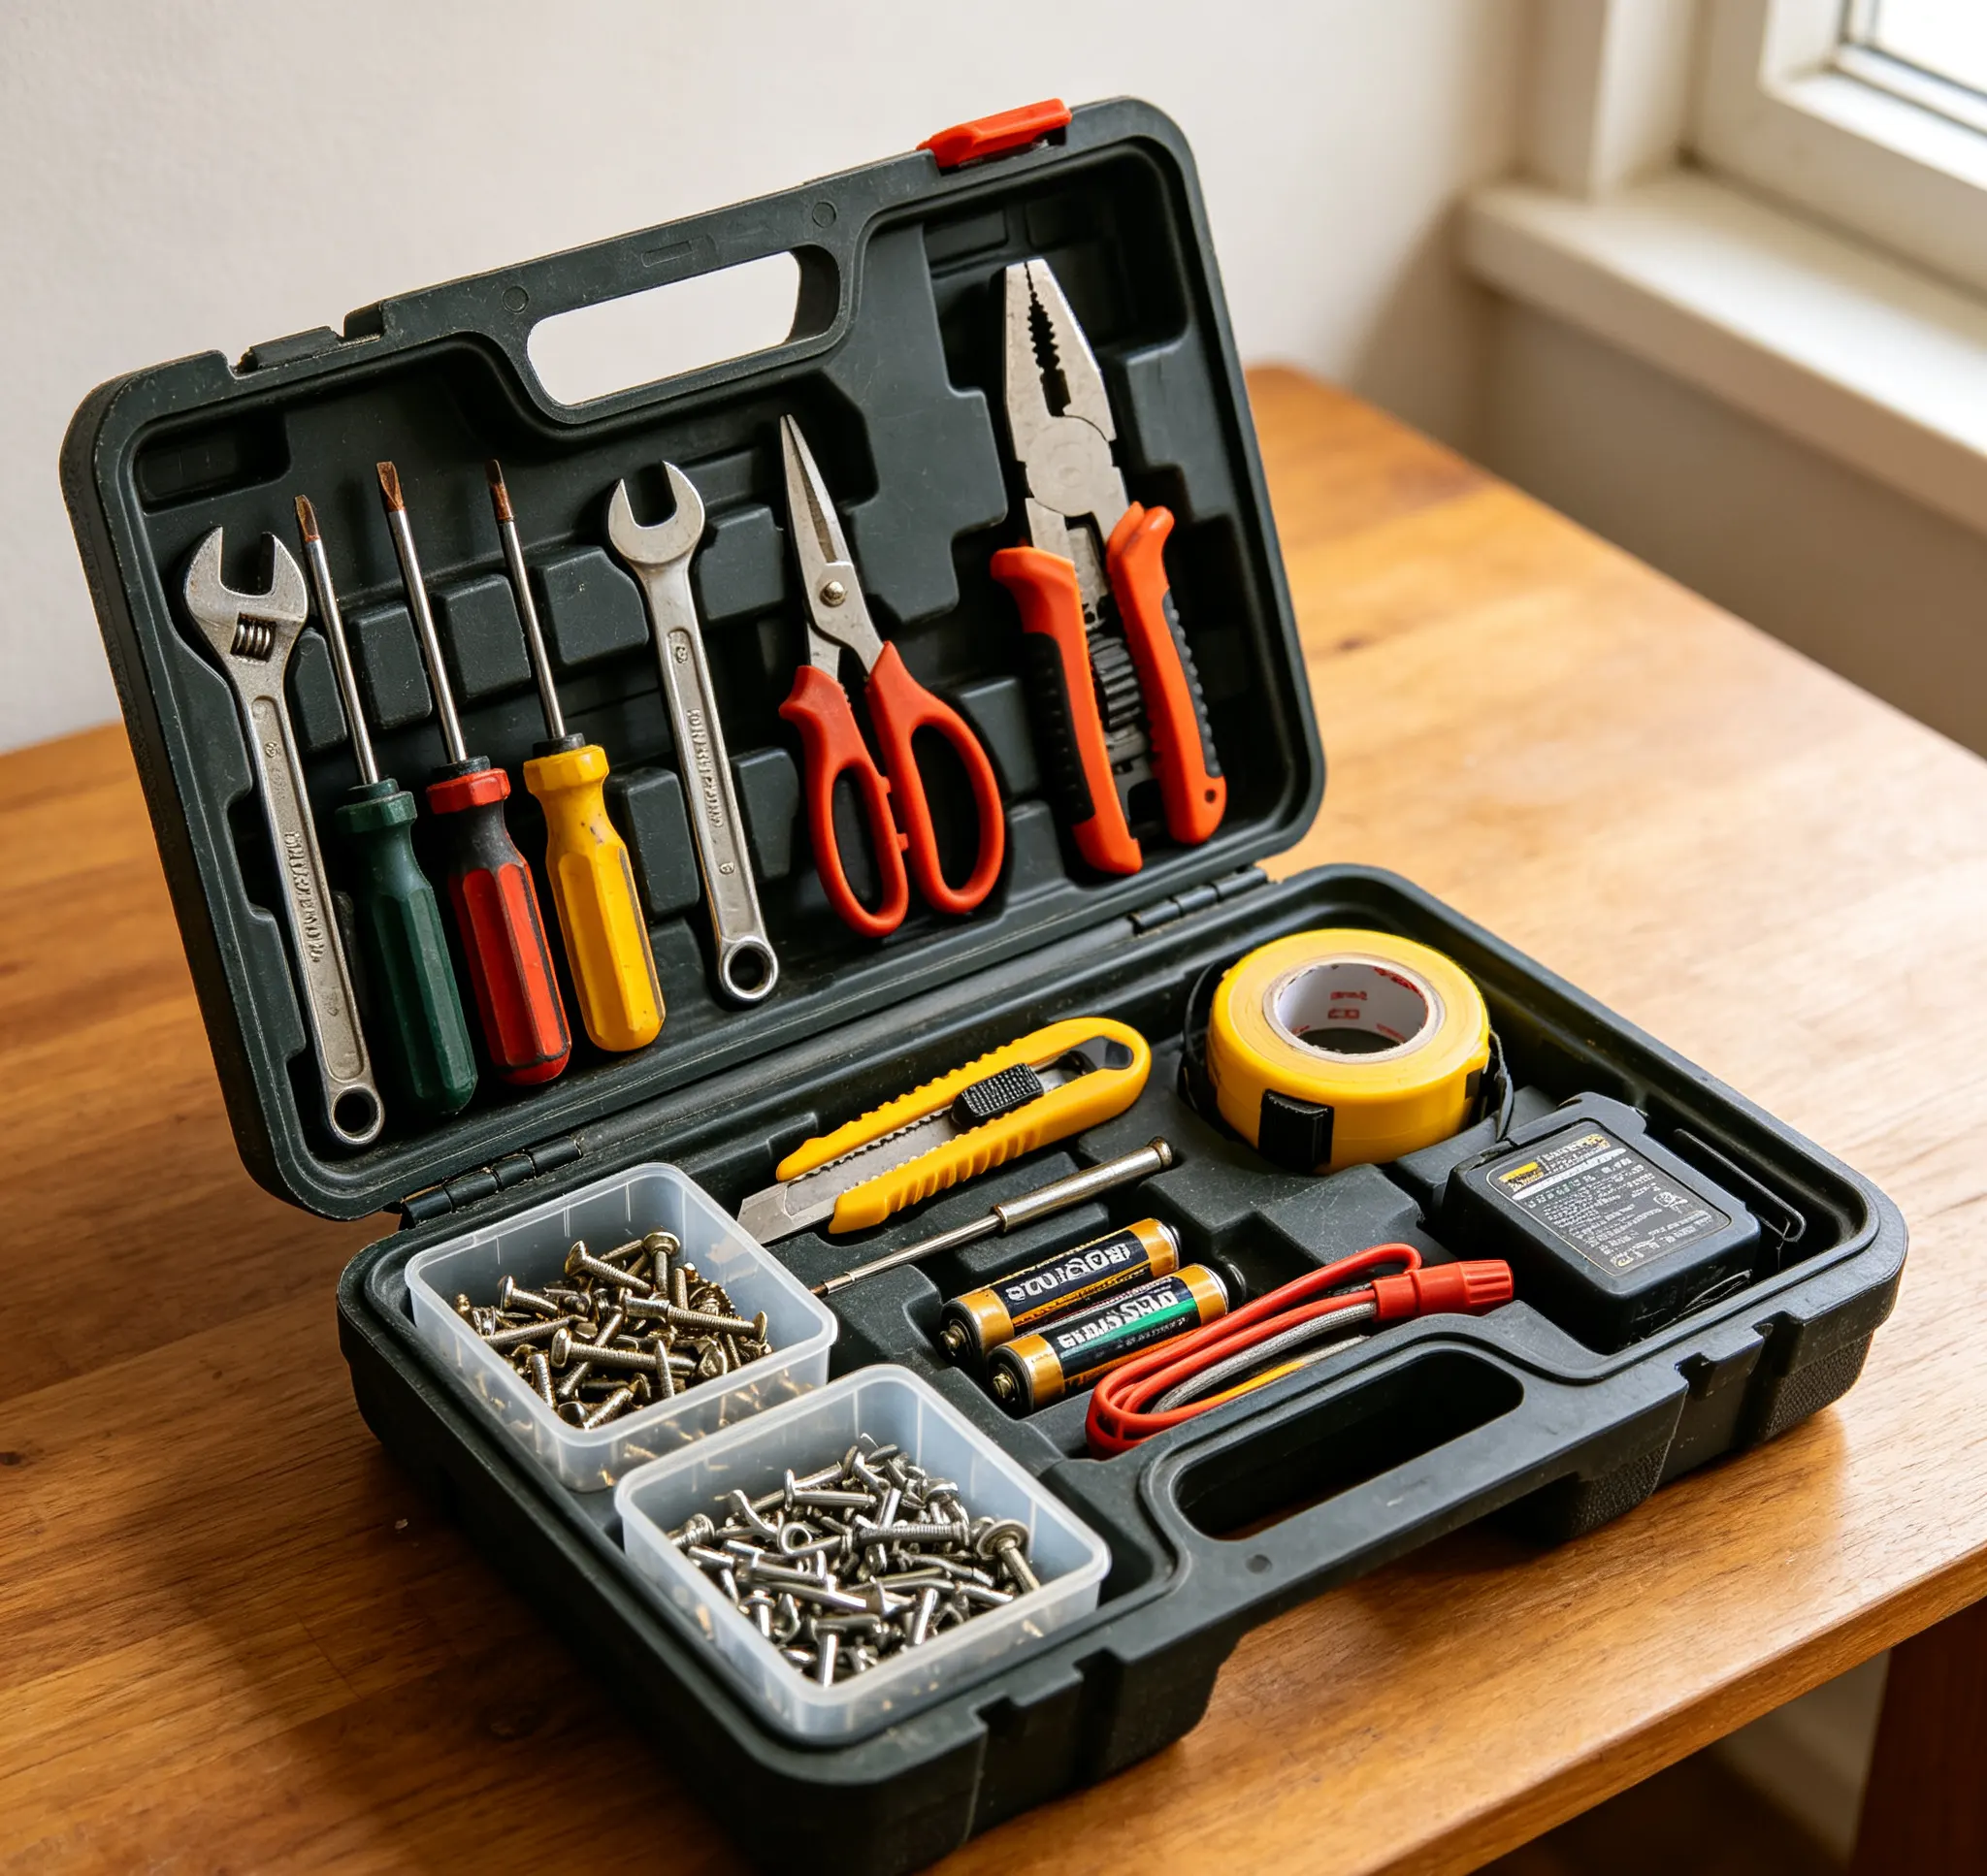
Having the correct tools ready can make installation more accurate and reduce unnecessary drilling. Basic installations commonly require:
| Tool | Main Purpose |
| Stud finder | Locating wall studs |
| Tape measure | Measuring height and spacing |
| Level | Checking horizontal alignment |
| Drill | Creating mounting holes |
| Screwdriver | Tightening TV and bracket screws |
| Pencil | Marking positions |
| Socket or wrench | Tightening larger fasteners |
Check the Wall and TV Compatibility
Before mounting the television, it is recommended to examine both the wall and the TV set itself. Wood, concrete, and masonry walls can serve as solid supports for mounting the TV, whereas drywall alone might not be able to carry a large weight without using appropriate fasteners. At the same time, the holes in the back of the TV and their proper size should be inspected to prevent loose screws or those that go too deep into the TV itself.
2. How Do You Prepare the Wall for TV Installation?
Find the Wall Studs
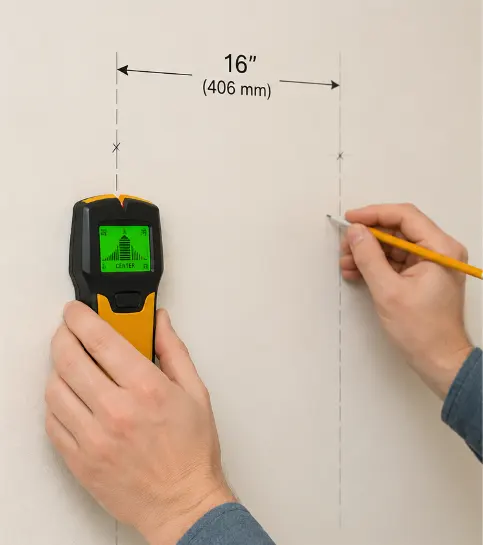
Stud mounting is possible by finding the vertical framing of the wall with the help of a stud finder tool. It is a common practice to find studs spaced 16 inches (406 mm) apart in most houses, but the distance may vary. It is necessary to mark the middle of the studs needed for mounting, especially when there is more than one mounting point. Where concrete or masonry is used as a wall material, it is necessary to install fasteners that are meant for such walls only, and not standard drywall mounting screws.
Measure the Viewing Height
The height of the installation varies based on the location of the mount and its use. A typical way to find the optimal height is by setting the middle point of the TV screen at the same height as a sitting viewer’s eyes. This usually means about 40-48 inches (102-122 cm) from the floor in many living rooms, although the precise number may differ depending on your furniture and where you would sit. It is also necessary to take into account the screen size, as a large screen mounted high might cause problems with posture.
Mark the Mounting Position
After deciding on the height, it is necessary to place the mount against the wall and mark all the holes. Make sure the mount is level with the help of a level. Then measure twice before drilling the holes. Compare the distances between the holes with the ones recommended in the manual for the bracket.
Check for Cables and Pipes
Before drilling holes, examine the vicinity for electrical wires, plumbing, and other hidden utility lines. Refrain from drilling in locations where such services might exist. Furthermore, you must consider where the power, HDMI, Ethernet, and other TV cables will travel.
3. How Do You Install a Wall-Mounted TV Step by Step?
Attach the Mounting Brackets to the TV
Firstly, place your television on a soft surface upside down and fix the vertical mounts or brackets to the holes located at the back of the TV using the supplied screws and spacers. Do not tighten the screws too much; otherwise, you may ruin the mounting points and TV chassis. Make sure that all fasteners are tightened tightly and the mounts are flush against the back of the TV.
Secure the Wall Plate
Align the mounting plate with the marked locations using the level and drill the holes as per the mount manufacturer’s instructions. Install the required bolts or anchors into the drilled holes. In case of stud mounting, ensure that the fasteners reach the studs properly to get a sturdy mounting point. When installing the TV in masonry walls, use the right kind of drill bits and anchors.
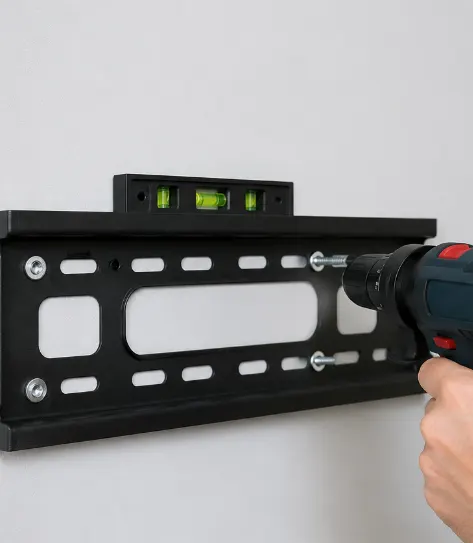
Before hanging the TV, gently test the wall plate for movement. It should remain firmly attached without visible shifting or looseness. If the plate moves or feels unstable, check the fasteners and mounting points before proceeding with the TV installation.
Attach the TV to the Wall Mount
Depending on the bracket design, carefully lift the TV and connect the mounting rails to the wall plate. The TV should not be installed alone if the screen size is large. It would be better to install it with another person who will help not to drop or twisting the mounting. All locking devices and safety screws must be put after attaching the TV. Please note that even when the TV seems to be hanging properly, it is not necessarily safe.
Check the Mounting Stability
Test the setup carefully before placing the TV into normal use. After installation, inspect every connection point. Confirm that:
- The wall plate remains firmly attached.
- All mounting screws are properly tightened.
- The TV is level.
- Safety locks are engaged.
- The screen does not move unexpectedly.
- Cables are not pulling against the ports.
4. What Common Mistakes Should You Avoid When Installing a Wall-Mounted TV?
Using the Wrong Mounting Hardware
The use of the wrong screws or anchors may affect the installation process. All hardware must suit the type of wall, mounting system, and TV requirements. It is forbidden to substitute screws with any other available ones just because they look appropriate.
Mounting Without Finding Studs
Installing a heavy TV directly into drywall without suitable structural support is a common mistake. Drywall anchors have a maximum load capacity and must be used in accordance with the mounting system and wall structure.
Ignoring Weight and VESA Requirements
A bracket may support a particular screen size but still have an unsuitable weight rating or VESA pattern. Always compare all three specifications before installation.
Leaving Cables Difficult to Access
Inadequate cable planning may cause difficulties in the future. There should be enough length of cable to move it freely, especially with tilting or full motion brackets.
5. Conclusion
Proper installation of a wall-mounted TV is not simply done by drilling some holes and attaching a bracket; one has to prepare for such an undertaking. First, one should know how much the TV weighs and what kind of VESA pattern it has, and then a matching mount and wall that will be able to support the installation should be selected. After the TV is mounted, one should take a couple of minutes to check the bracket, locking points, TV screen alignment, and cable connections. These simple actions can prevent common mistakes in TV installation and help to get a stable, clean, and functional wall-mounted TV.
0