
目录
Despite seeming like a minor problem, a dripping faucet can waste a great deal of water. While one which is dripping intermittently will continue to do so all day long, constant dripping means there is something wrong with the valve, cartridge, washer, or connection. Knowledge about how to fix a dripping faucet in the house will assist homeowners in coping with some common issues in the house.
There are different methods of repairing a leaking faucet depending on its type and position. Since there are differences in the structure of compression, cartridge, ball, and ceramic disk faucets, it is important to determine the faucet type first. Being equipped with the water turned off and correct replacement parts, most of the typical problems with the faucets can be identified and fixed with the help of basic tools.
1. What Causes a Leaky Faucet at Home?
Worn or Damaged Washers
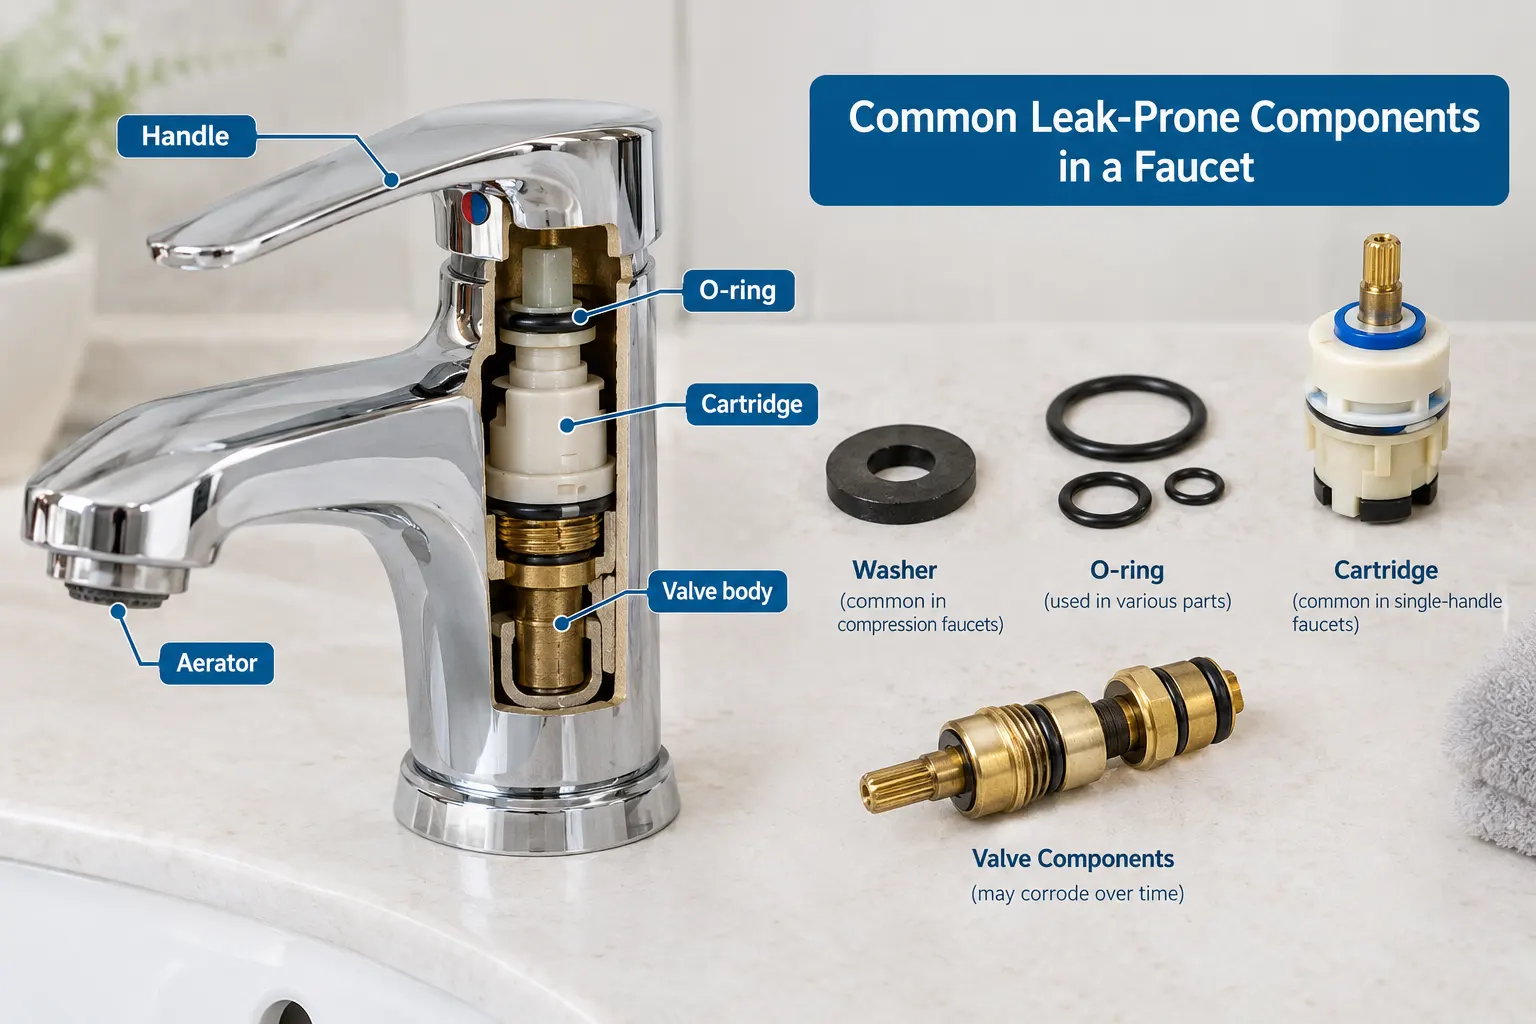
Washers are utilized in compression faucets to form a tight seal between the moving parts of the faucet. Frequent use wears out the surface of the washer, making it impossible to stop the flow of water. Such a washer often becomes flattened, cracked, or mineralized.
The rate of usage determines the rate of wear. A faucet that is operated many times every day will need some maintenance more often than one in a less frequently used toilet. When you notice continuous dripping from the spout of the faucet when you have turned the handle completely, there may be problems with the washer.
Faulty O-Rings
An O-ring is a rubber seal placed at the stem or any connecting part, including the handle and the faucet. With time, these seals get hardened, stretched, or torn. An O-ring issue, in contrast to a spout leak, will produce water leaking near the faucet’s handle. When replacing an O-ring, one should select one of the proper size and material; otherwise, there might be another leak after the repair work.
Loose or Damaged Cartridge
The majority of single-handle faucets operate through a cartridge that regulates water flow and temperature. The presence of minerals, worn seals, or any malfunction of the cartridge will lead to a lack of closure of the internal parts. It can be identified by dripping from the faucet, handle stiffness, and leaking around the handle. In some cases, the replacement of the cartridge will be better than fixing its inner components.
Corroded Valve Components
If your water has left mineral deposits or any kind of corrosion inside the valves, your sealing surfaces can be affected. In case of significant corrosion, the replacement of components becomes complicated. Before installing a new component, do not forget to examine the other components. Replacement of one seal may not help if there is a corrosion of several components are corroded.
2. How Do You Prepare to Fix a Leaky Faucet at Home?
Turn Off the Water Supply
Before any repairs to a leaking faucet, you need to close the hot and cold water supply valves under the sink. Rotate it in a clockwise direction until you cannot rotate it anymore. Place a towel or bowl beneath the faucet to catch some of the leftover water.
Identify the Faucet Type
The type of faucet design will determine the components to be detached. Consult the manufacturer’s details and compare them with the faucet handle design. Common types include:
| Faucet Type | Typical Internal Component |
| Compression | Washer and stem |
| Cartridge | Cartridge and seals |
| Ball | Ball assembly and springs |
| Ceramic disc | Ceramic discs and seals |
Prepare the Necessary Tools and Replacement Parts
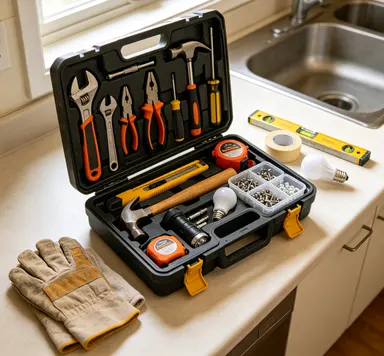
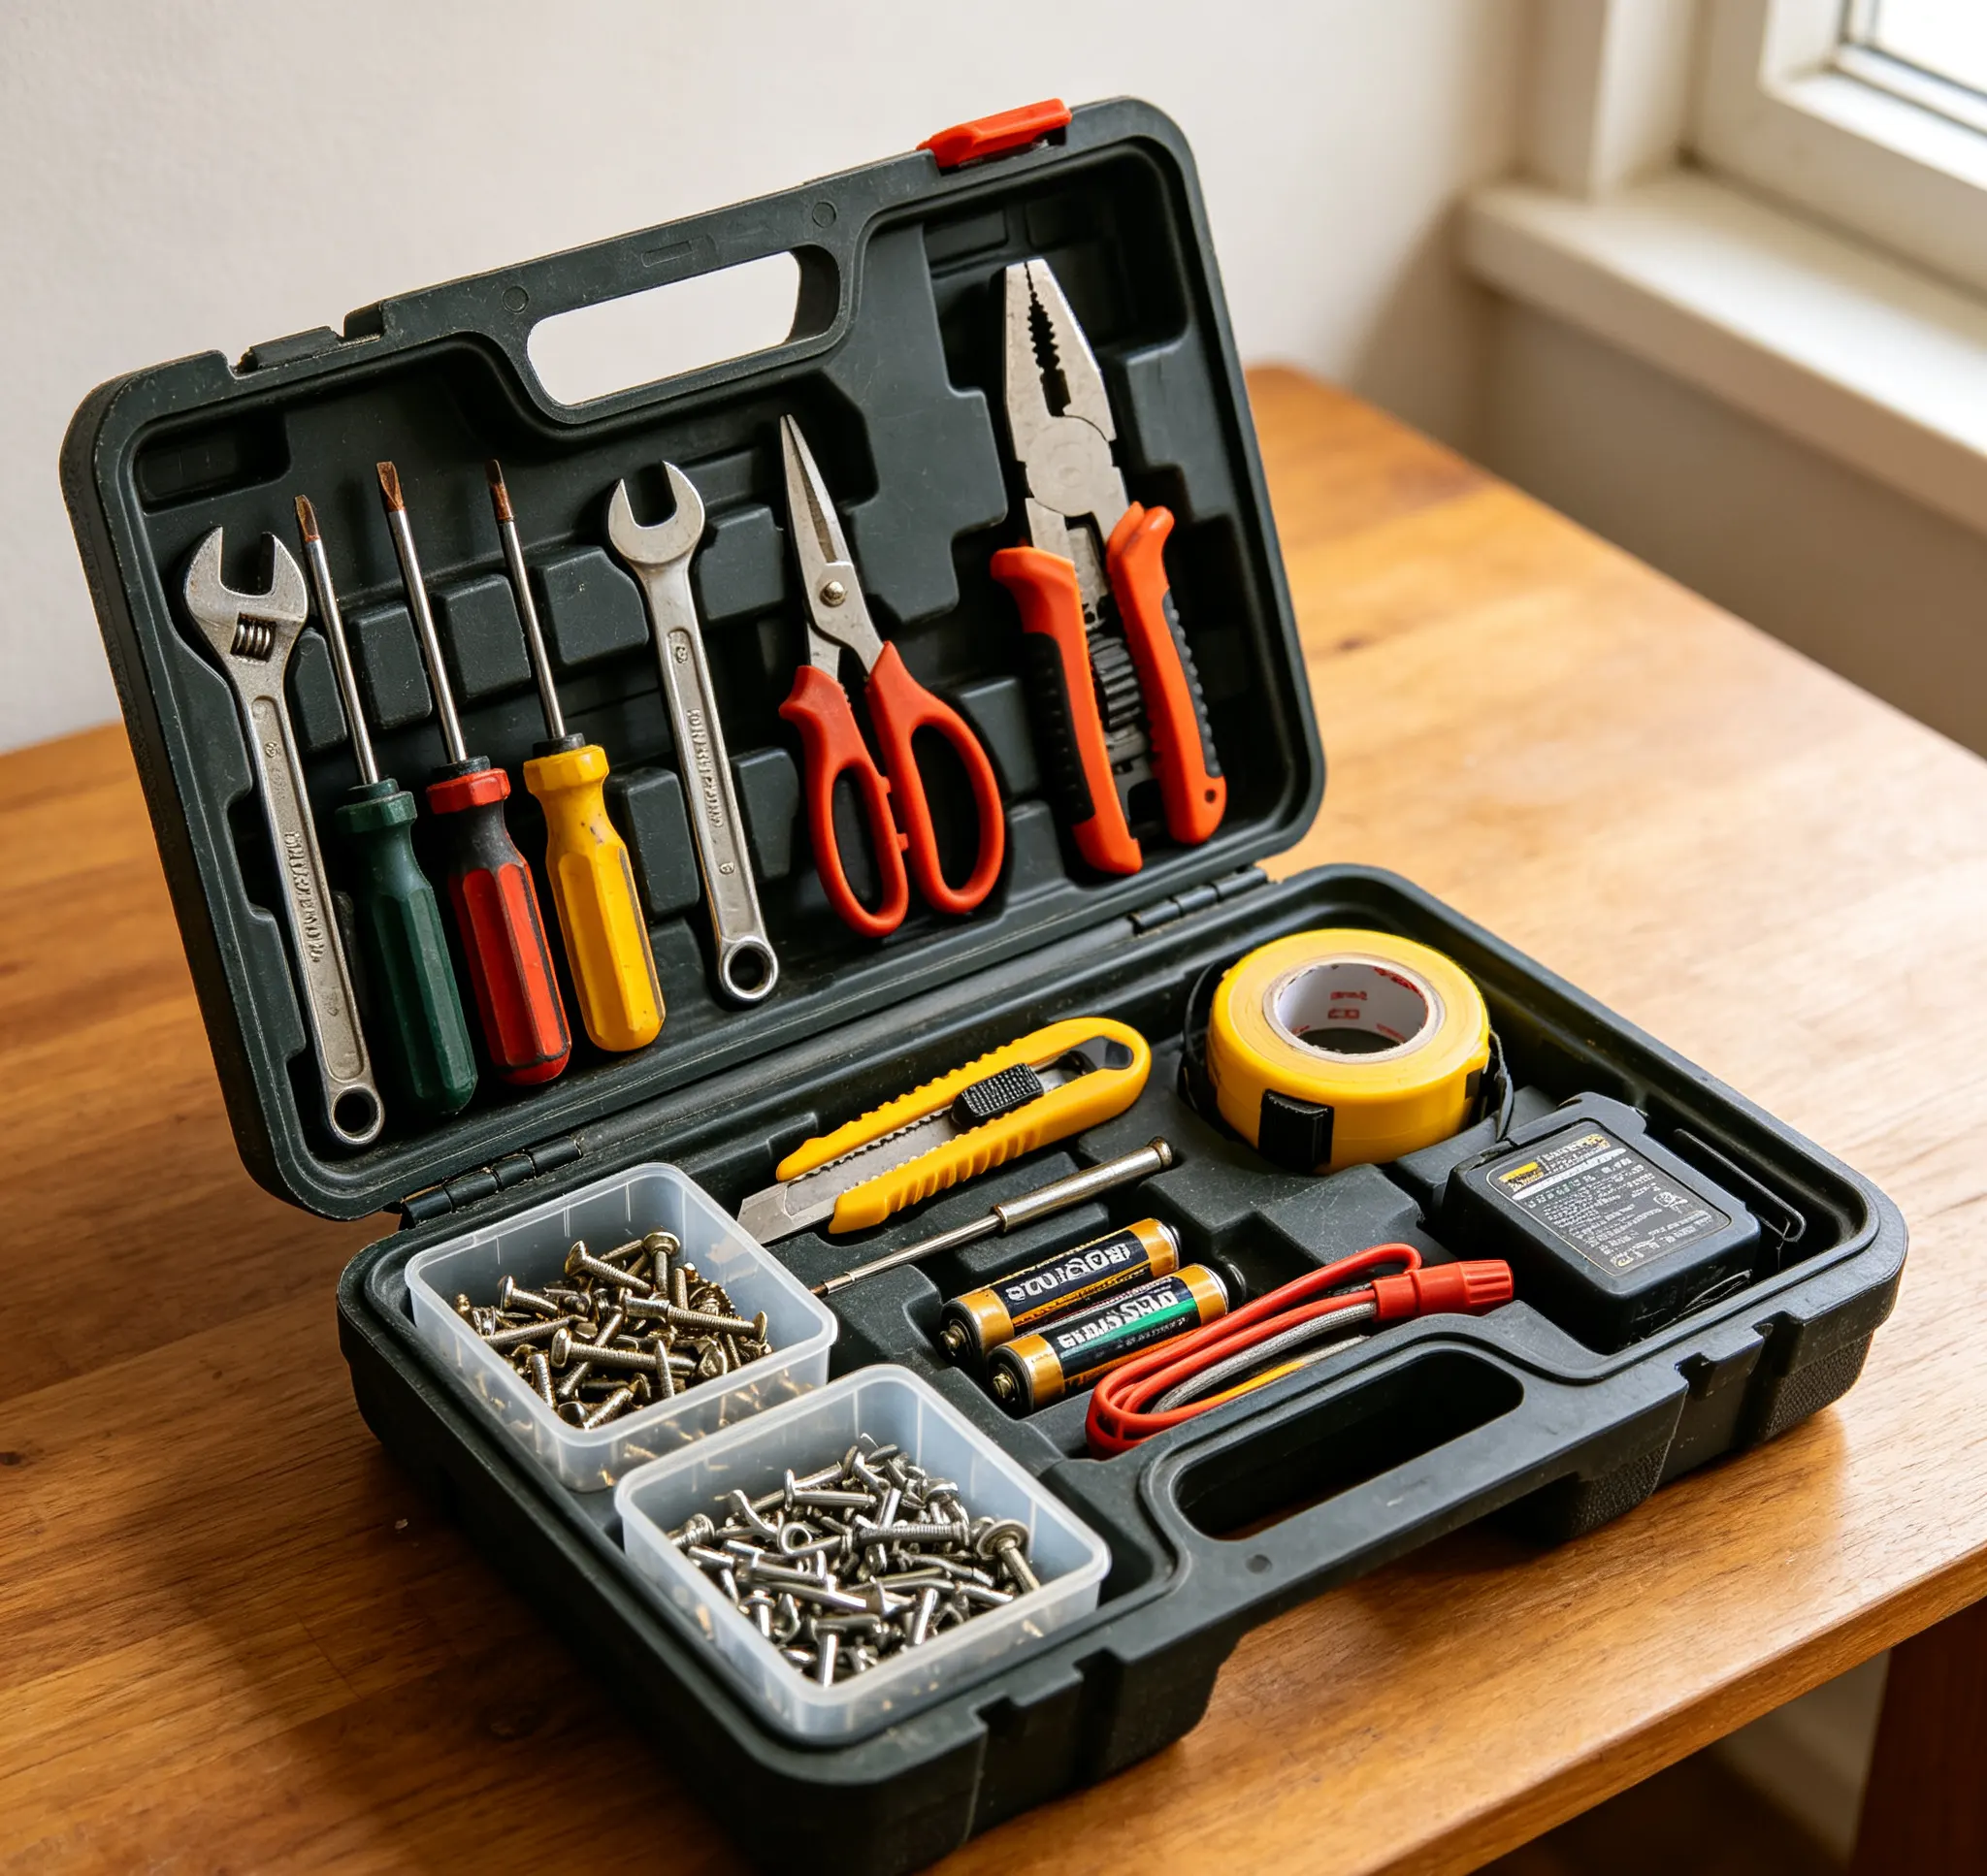
The majority of repairs will need just a handful of tools, but this may depend on the particular type of faucet. Take care to separate the replacement components from other components while taking apart the faucet. Useful items may include:
- Adjustable wrench
- Screwdriver
- Allen key set
- Pliers
- Replacement washer, O-ring, or cartridge
- Plumber’s silicone grease
- Cloth or small container
3. How Do You Fix a Leaky Faucet at Home Step by Step?
Remove the Faucet Handle
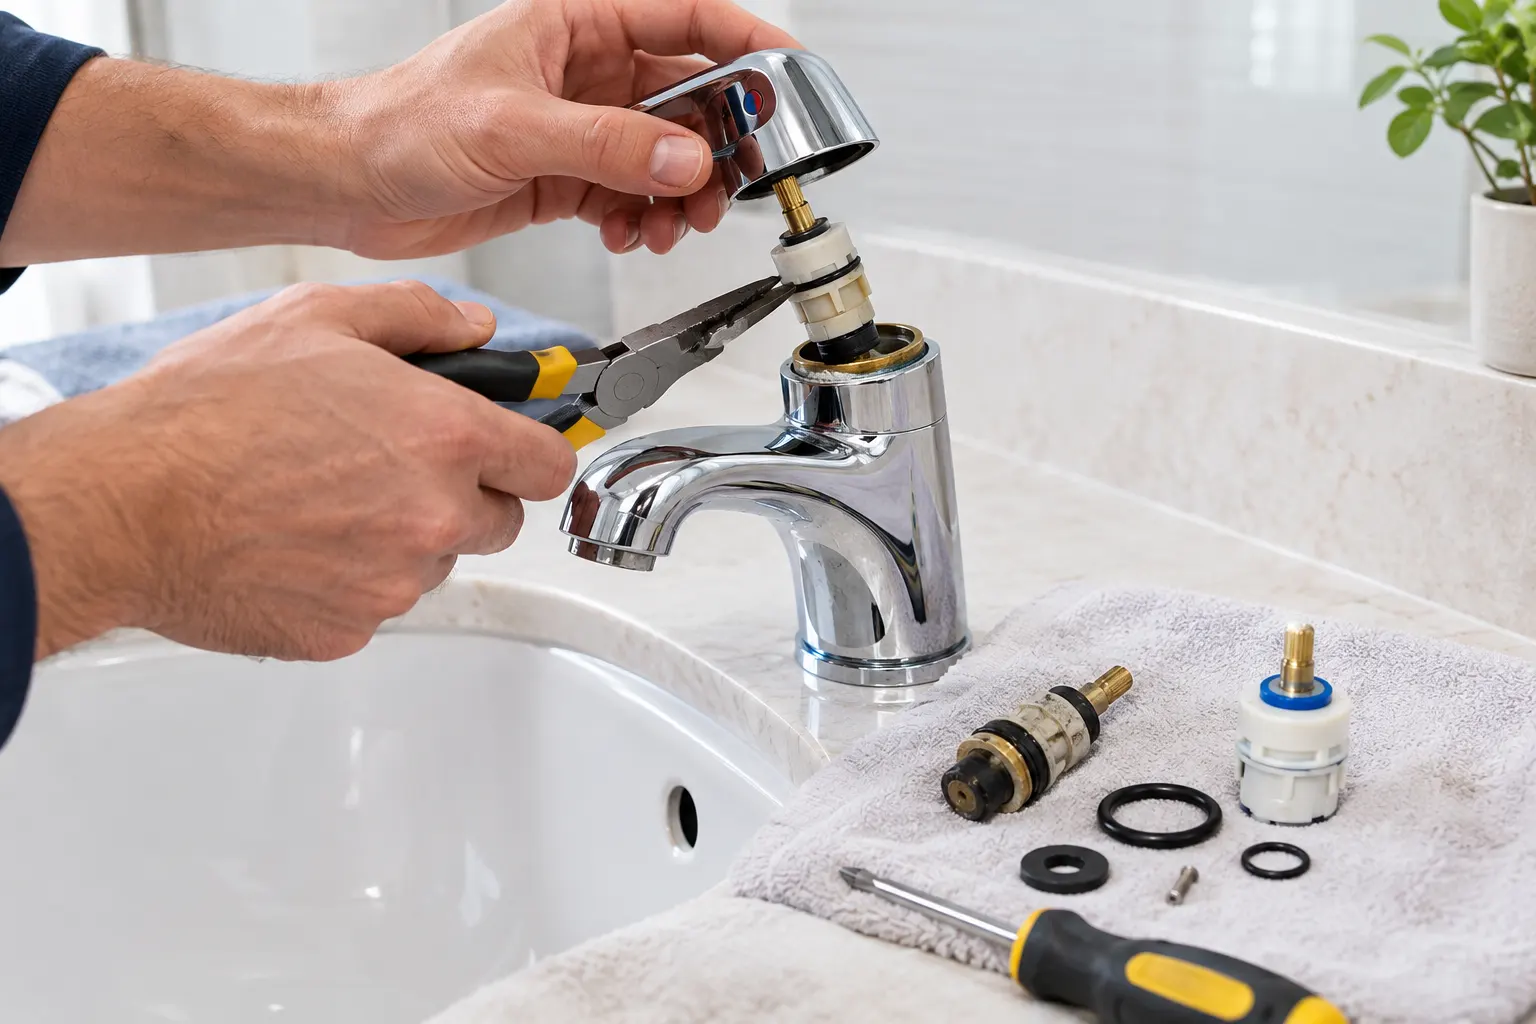
Start by turning off the water supply to the faucet and taking off the decorative cap if your faucet has one. Find the retaining screw, undo it,t and take off the handle. Do not force the handle off; if it has been hard to remove because of mineral deposits, use controlled force. Store the screws and other components away in a safe place.
Inspect and Replace the Damaged Component
Having taken off the handle and other retaining components, check the condition of the washer, O-ring, or cartridge,e depending on which faucet you have. Check for cracks, deformation, rubber surfaces having become flat, or mineral deposits or corrosion. Replace the faulty part with the same component as the old one. In the case of cartridges and other components, try to replace them with a corresponding replacement part if you have the correct model of the faucet.
Clean the Valve and Sealing Surfaces
Clean the accessible surfaces before installing the replacement component. It is enough to use a soft cloth for minor mineral deposits, but more specialized procedures are required for harder deposits. Avoid scratching precision sealing surfaces. Even small scratches can interfere with the seal and cause continued leakage after the repair.
Reassemble and Test the Faucet
Reinstall the internal components, handle, and retaining hardware in the correct order. Slowly open the water supply valves rather than opening them fully right away. After turning on the water, turn the faucet on and off several times to observe the repaired section. Leave the water on for about 1-2 minutes and watch out for any moisture at the handle, spout, and connection points.
4. What Should You Check After Fixing a Leaky Faucet at Home?
Test for Leaks Around the Handle
With the faucet running and turned off several times, inspect the handle and its base. Water appearing around these areas may indicate that a seal, cartridge, or connection has not been installed correctly. Dry the surrounding surface before testing so that new moisture can be identified more easily.
Check the Faucet Spout and Connections
Observe the spout after completely closing the faucet. If the valve was successfully fixed, it will cut off the flow of water without any dripping. It is also important to examine the supply connections underneath the sink for any moisture. Pay attention to the connection points for several minutes because a slow leak may not appear immediately.
Confirm Stable Water Flow
Lastly, turn the faucet slowly and check whether the water flows smoothly when you change the handle position. If you notice a sudden change in pressure, any noise, or any drips, then it means that the component has not been fitted in place correctly. Leaking can occur even after fixing the right component, and the issue could be caused by other factors like damaged seats, concealed plumbing,g and others.
Conclusion
In dealing with leaking faucets, one should begin by locating the part that is leaking and finding out which internal part is responsible for that. Some of the reasons why leaks occur include worn washers, damaged O-rings, malfunctioning cartridges, and corroded valve parts, but what is needed for repair will depend on the particular faucet. When repairing a faucet, one should be careful to do the following: turn off the water, locate the type of faucet, replace the required part, clean the sealing surfaces, and test the faucet once the work is completed.
0